Getting Your UV Curing Right for Textile Prints
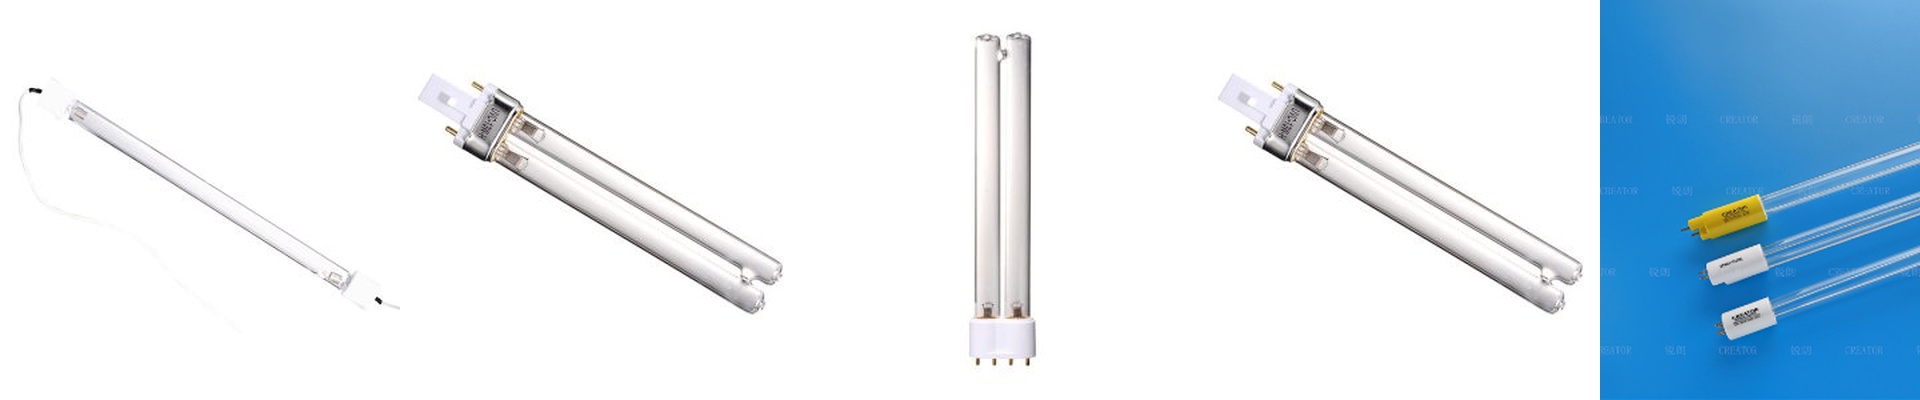
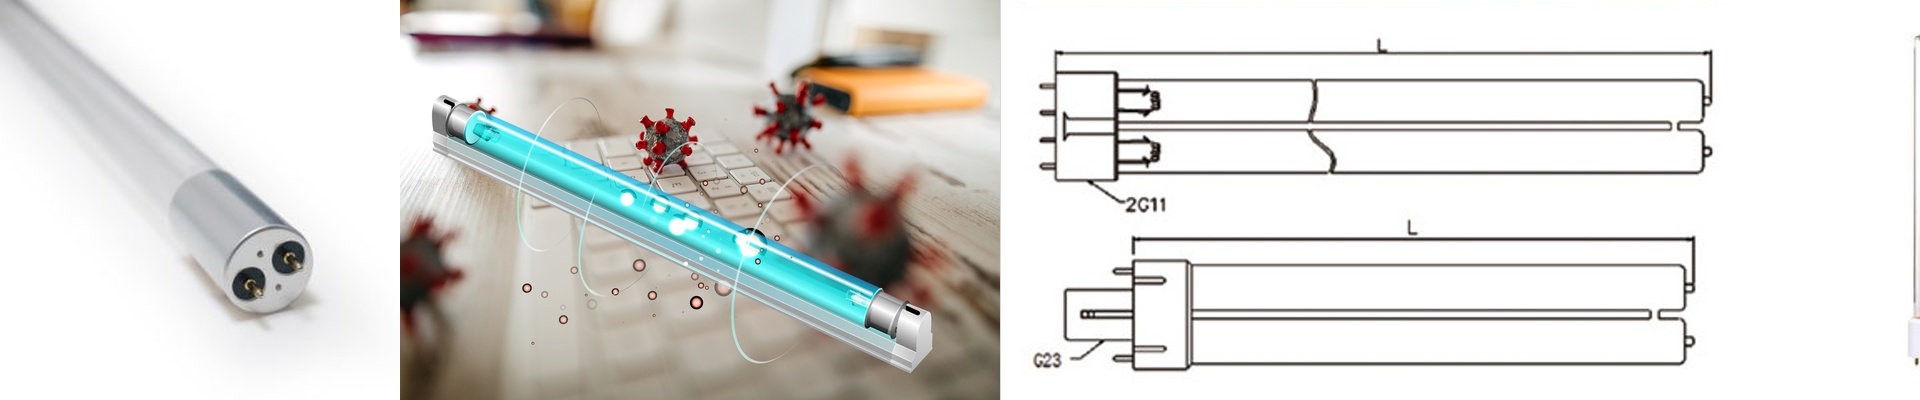
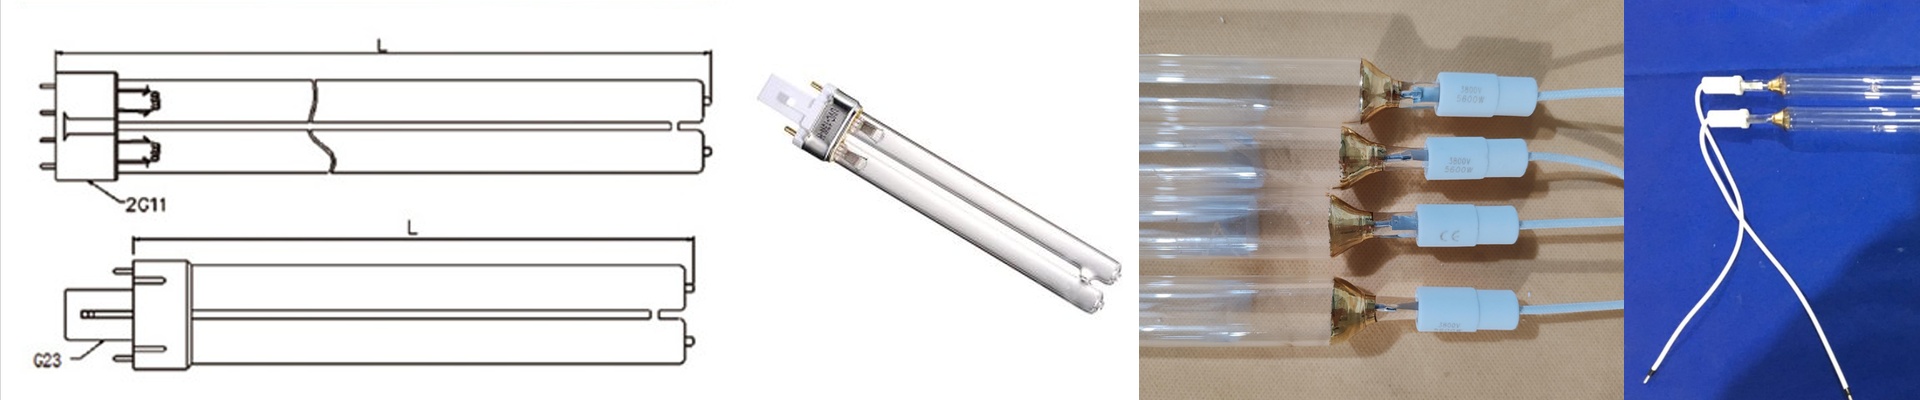
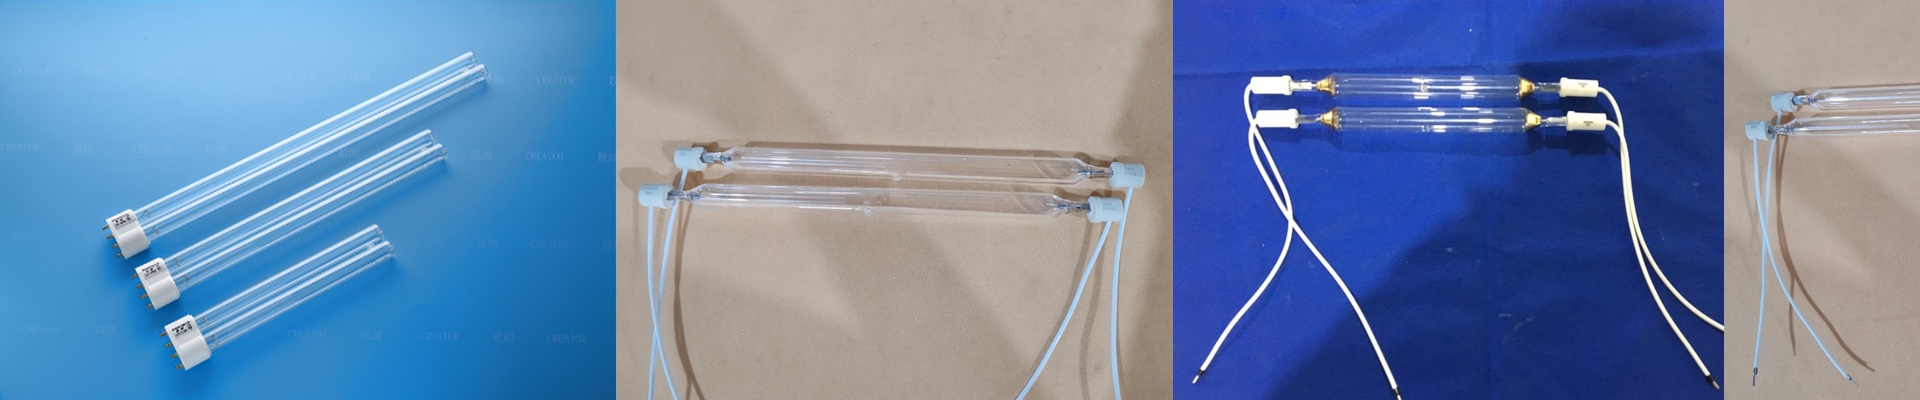
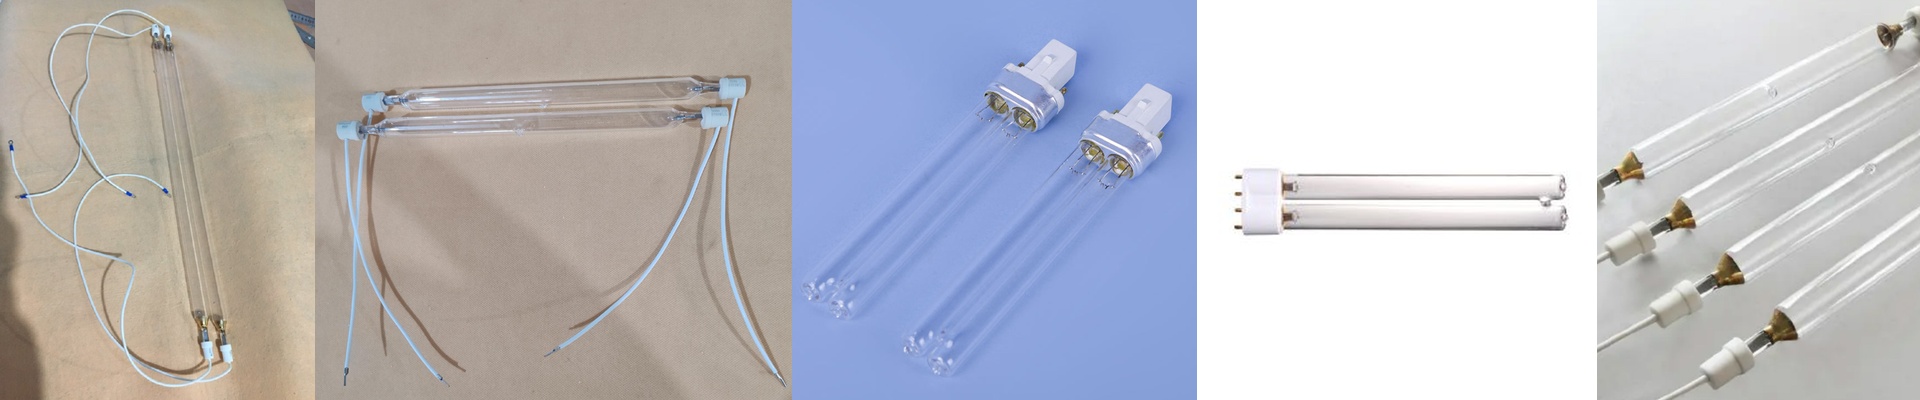
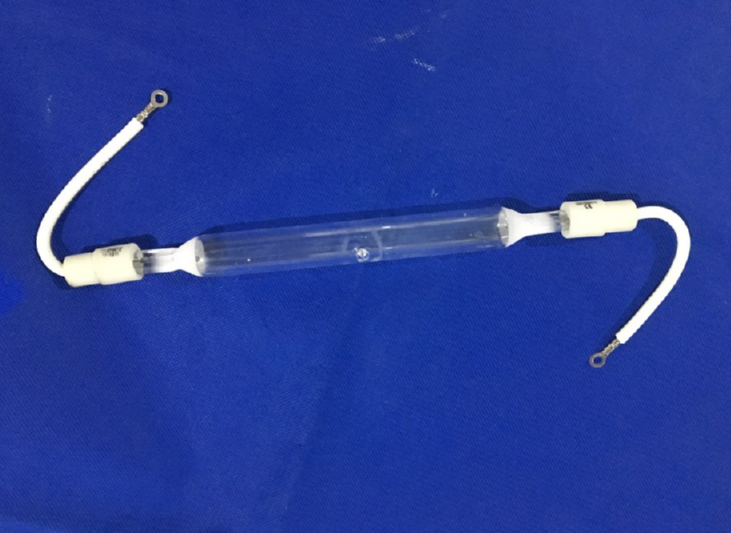
When you’re printing on fabric, you aren’t just looking for “heat.” You need a very specific kind of ultraviolet light to make that ink snap into place. If your wavelength is a bit off or the intensity isn’t where it needs to be, you’re going to deal with ink migration or prints that just peel right off. It’s a headache nobody wants. That’s why we build our UV lamps to order. Matching the light to your ink Every ink has its own chemistry. We look at the photo-initiators you’re using and build the tubes to match. Most fabrics need a blend of UVA and UVC. By tweaking the gas fill and the quartz envelope, we hit those exact peaks. The result? The ink sets instantly. No scorching, no melted synthetic fibers, and no ruined garments. The heat struggle Here’s the thing about power: more wattage means you can run your lines faster. That sounds great—until you feel the heat coming off the array. You can’t just ignore the temperature. If you’re running high-density lamps, you need a real plan for cooling. Whether it’s forced air or water-cooled jackets, you’ve got to move that heat away from the fabric. Otherwise, your material will shrink or warp, and you’ve just wasted a perfectly good piece of cloth. Making life easier on the floor Nobody likes spending hours fumbling with a replacement part. We use standard connectors so our lamps are basically drop-in replacements. If you need weird end-cap dimensions or specific lead wires to fit your old housing, we just build them that way. It keeps your downtime short. But there is a trade-off. If you want maximum intensity, your electrodes are going to wear out faster. It’s just the physics of the thing. My best advice? Keep a close eye on your hour-meter. Swap the lamps out before the output dips. It’s much better to change a bulb early than to find out your prints are still “wet” once they hit the folding table.