

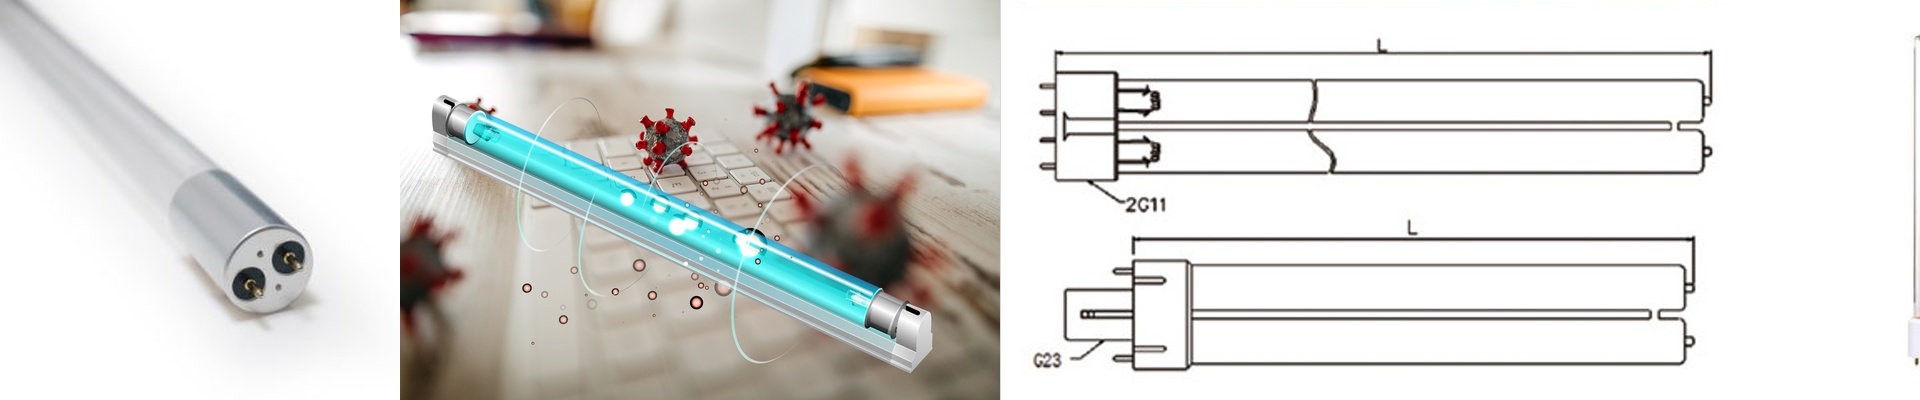


How UV Curing and Sterilization Actually Work
Think of UV lamps as more than just bulbs. They’re precision tools. In the printing world, we use them to trigger a chemical reaction that turns liquid ink into a hard, solid film in a fraction of a second. It’s almost like magic, but it’s just chemistry.
The Nitty-Gritty of the Light
Depending on what you’re trying to do, the wavelength is everything. If you’re sterilizing something, you want that shortwave UV-C (usually around 254nm). It basically rips through DNA and shuts down microbes. But for curing ink? We lean toward UV-A and UV-B. Then there’s the power density. This is what determines how fast your production line can run. But here’s the catch: if you crank up the wattage to speed things up, you’re going to get a lot of heat. If you haven’t sorted out your cooling fans or water-jackets, your materials will start to warp. And that’s a headache nobody wants.
What They’re Made Of
You can’t just use regular glass here. Standard glass blocks UV rays, so we use high-purity fused quartz for the envelopes. It lets the light pass right through. Sometimes we add special coatings to the tubes to filter out the “junk” wavelengths or to focus the energy exactly where it needs to go. Even the connectors—like the slide-in R7s or the twist-lock Sk15—are built to handle intense heat. One pro tip: make sure those connectors are seated perfectly. If they’re loose, you get arc points. That’s the fastest way to burn out a lamp.
The Real-World Trade-offs
High power comes with a price. You’re dealing with heat and ozone production. Plus, a high-wattage lamp puts a lot of stress on your ballast. You can’t just pop a high-power tube into a cheap housing and hope for the best; you’ve got to check your wiring gauges first. We build these things to survive the grind of a 24/7 factory floor. They’re tough. But they aren’t immortal. You still need a strict replacement schedule if you want your curing depth to stay consistent across every single print.